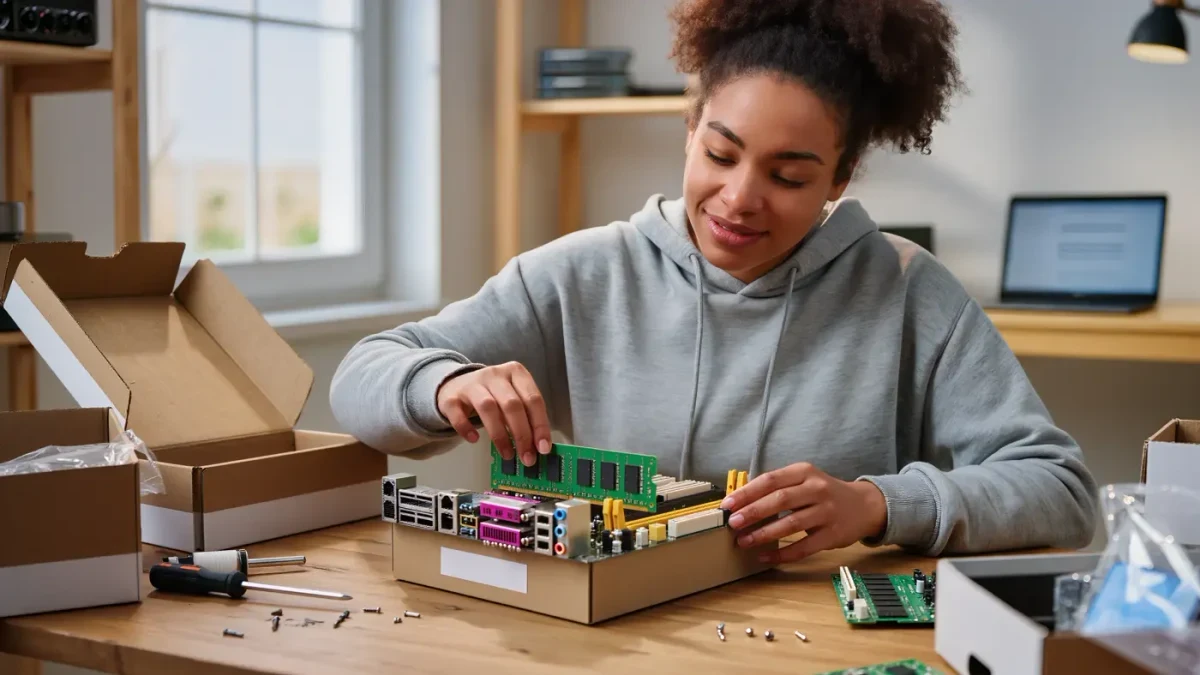
Building your first gaming PC comes down to installing eight parts in the right order: CPU, cooler, RAM, and M.2 drive onto the motherboard first, then the board into the case, then the power supply, graphics card, and cables. Done in that order, a first build takes most people two to four hours. The main advantage over a prebuilt is control: you pick every part, you keep the receipts, and you can upgrade one piece later instead of replacing the whole machine.
This guide explains the process. It is not repair advice, and warranty terms differ by manufacturer — check each part's warranty policy before you open anything, because some vendors treat a self-install differently from a shop build.
What parts do you need before you start?
Seven core parts plus the case: a CPU, a motherboard that matches the CPU's socket, RAM, an M.2 NVMe solid-state drive, a power supply, a graphics card, and a case fan kit if the case ships without fans. You also need a Phillips screwdriver, the motherboard manual, and a large clean table. Lay every box out and check each part against its box before touching anything.
What should you do before touching any parts?
Read the motherboard manual's assembly pages once, end to end. It shows the exact RAM slots for two sticks, the M.2 location, and the front-panel header layout — the three things first builders get wrong. Then ground yourself by touching a bare metal part of the case periodically; static discharge is rare but it can kill a board. Work on a hard table, not carpet.
Step 1: How do you install the CPU?
Place the motherboard on its box. Lift the CPU socket lever. Find the small triangle on one corner of the CPU and match it to the triangle marked on the socket. Lower the CPU straight down — never slide it — and close the lever. It takes light pressure; if it feels like it needs force, stop, lift the CPU out, and check the orientation again. No pins should bend.
Step 2: How does the cooler go on?
If the cooler ships with paste pre-applied, do not add more. If not, put a pea-sized dot of thermal paste in the center of the CPU. Line the cooler up with the four holes around the socket and tighten its screws in an X pattern — a few turns each, alternating, until all four stop. Plug the cooler's fan cable into the header marked CPU_FAN on the board. The machine will not boot without it.
Step 3: Where do the RAM sticks go?
Open the clips on the two slots the manual names for a two-stick kit — usually slots two and four, counted from the CPU. Press each stick straight down until both clips click. An unseated stick is one of the most common reasons a first build fails to power on, so push firmly and check both ends are level.
Step 4: How do you add the M.2 SSD?
Find the M.2 slot, remove its small standoff screw position cover if present, and insert the drive at a slight angle into the slot. Push it flat and secure it with the single retention screw. Some boards hide the slot under a heatsink — replace it after seating the drive.
Step 5: How does the motherboard go into the case?
Install the power supply first if the case has a bottom shroud — it is easier now than with the board in the way. Then screw the case's standoffs into the pattern that matches your board, lower the board onto them, and insert the screws loosely before tightening all of them. The rear ports should sit flush against the case's input-output shield.
Step 6: What cables connect where?
Connect four groups: the 24-pin main power to the board, the 8-pin CPU power at the top corner, the front-panel header pins using the manual's diagram, and the case's USB and audio connectors to their labeled headers. Route what you can behind the motherboard tray — airflow matters more than looks, and a tangled front of the case blocks intake fans.
Step 7: When do you install the graphics card?
Last. Remove the slot covers behind the top PCIe slot, seat the card until the retention clip clicks, and screw its bracket in. Connect the power cables the card's manual requires — many modern cards need two separate cables rather than one daisy-chained pair. Then close the case.
What happens at first boot?
Plug in a monitor, keyboard, and a USB stick with your operating system's installer. Power on and press the key your board uses to open its boot menu — usually F8, F11, or F12, shown on the first screen. If the machine powers on but shows no image, reseat the RAM and check the monitor is on the graphics card's output, not the motherboard's. Once the installer loads, the hardware is working.
What should you check in the first week?
Update the motherboard's firmware from within its own menu or the vendor app, install the graphics driver from the card maker's site, and enable XMP or EXPO in the board's settings so the RAM runs at its rated speed instead of a slow default. Then play something. Load times, temperatures, and frame rates will tell you more than any checklist.
If a part is dead on arrival, the fix is almost always warranty replacement, not repair — note each vendor's return window before you build.
For more context, read How to Set Up a Steam Deck the Right Way.
For more context, read how to stream on twitch.
For more context, read How to Fix High Ping in Online Games.